Imitation Eagle Turkey Feather Preparation Tips
Native American Turkey Feather Craft Use ~ April 2010
(With notes on quality of available Imitation Eagle Feathers)
Imitation Eagle Turkey Feather Preparation Tips
Native American Turkey Feather Craft Use ~ April 2010
(With notes on quality of available Imitation Eagle Feathers)
Over the years, the quality, size and availability of turkey feathers(particularly imitation eagle feathers) for the craft market have diminished; however, we now have a good source for very nice feathers of this type. To help you prepare your imitation eagle feathers for the best possible results, we offer the following tips and techniques.
Today, feathers often have broken tips; however, this is normally not a problem because in most cases this flimsy tip should be trimmed off before use in order to strengthen it. These quality issues are due in part to the way turkeys are raised, as well as increasing government regulations, fewer suppliers and fewer processors of raw feathers. For these reasons, almost all turkey feathers need to be straightened, extended, “preened” and trimmed before use, as we explain here. Several before and after photos are included so you can see the difference these turkey feather preparation tips make. Photo A shows several imitation eagle feathers before any preparation work is done. Note: These same techniques apply equally well to the spikes used for feather bustles.

SORTING YOUR FEATHERS:
The first step in preparing feathers for use is to determine which are “lefts” and which are “rights” (ie., which are from the left or right wing or the left or right side of the tail). To do this, spread the feathers out with the shiny, brighter side up and you will see that each curves naturally to the right or left. Tail feathers may not curve a great deal, but there will be more webbing on the left side of a “left” feather and vice versa for a “right.” Separate the feathers accordingly into “left” and “right” groups.

STRAIGHTENING YOUR FEATHERS:
Now straighten the feathers by warming the quill over an exposed light bulb as shown in Figure 1. We recommend protecting your eyes from the glare of the bulb with a pair of sunglasses. Gently apply steady pressure on the quill as you move it back and forth over the hot bulb until it bends in the opposite direction of its natural curve. Do not force it to bend too much as this may cause the feather to crimp. Occasionally turn the feather as you move it over the light so that it heats the quill evenly. Take it away from the heat and allow it cool, while holding it as straight as possible. Repeat this process if necessary. This can also be done using steam from a tea kettle or the tip of an electric iron as your heat source. However, be careful using steam, as it can quickly curl the webbing. If possible, do some trial runs with spare feathers.
A faster method is to use your thumbnail to make small dents or crimps in the quill, about every 1/2″ to 1″ along the outside curve of the feather. This will cause the feather to straighten out, but extreme care must be used so as not to crimp it too much or break it, as the feather will then be ruined. This method is not recommended for beginners and you should practice both techniques on a few old feathers first. This method can also be used along with the heating process.
Note: Regardless of which straightening method you use, first note that the feathers usually curve in two directions: from front ot back and toward one side. For the straightest possible feather, apply heat or pressure so that the completed feather is straight both up and down and from side to side.


FEATHER PREENING:
Each strand of webbing, called a vein, has iny barbs that help lock it inot the veins next to it. The technique used to pull the webbing together so that the webbing is uniform is called preening.
Before trimming, take a few minutes to gently stroke the webbing between your thumb and first two fingers, as shown in Photo B. The oil from your fingers will help hold the veins together and will return some the natural oil that was removed from the feather in washing and dyeing. Both the oil and preening help the barbs in each vein to reconnect, holding them together.


FEATHER TRIMMING:
This is one of the most important steps in creating an authentic looking feather, so for the most realistic look, carefully trim the tip ends with a sharp pair of scissors. First, cut off about ½” to 1″ of the flimsy tip, or at least enough to remove any broken area. In the case of Imitation Eagle Feathers, these should be trimmed so that there is about 3-4″ of black area remaining, as shown in Figure 2. Next, cut the tips off the rest of your feathers to match this one, so there is about the same amount of black on the tip of each feather. Photo C.
Trim the tips (and part of the sides if necessary) to resemble the various eagle tail feather shapes shown in Figure 3, always cutting from the tip toward the base of the feather. The desired shape is more like that of a table knife rather than the extreme point of the natural turkey feather. It is a good idea to look at photos of real feathers, such as warbonnets and bustles, and using these as a reference when trimming your feathers.

Tip: Placing masking tape along the edge of the feather before cutting is very helpful in holding the vein steady while trimming it, as shown in Photo D. After trimming, gently remove the tape by slowly pulling from the base of the feather towards the tip.


EXTENDING THE FEATHER:
Eagle feathers are generally longer than turkey feathers, so we recommend extending wing feathers to about 14″ long so as to resemble large eagle tail feathers. This is accomplished by measuring 12″ down from the tip to the quill end and then cutting off the excess quill. Then add just enough wooden dowel rod to make the feather 14″ long overall. The length can vary somewhat depending on the initial size of your feathers as well as their intended use. For example, the feathers used in a fan can be shorter than those used in a warbonnet.Photo F shows the steps involved in extending the feathers.
The dowel should be approximately the same diameter as the thickest part of the quill and tapered slightly on one end before being glued into the quill. You should have approximately 2-1/2″ of quill &/or dowel extending below the webbing of the feather. Photo F shows the feathers after they have been straightened, preened, trimmed and extended.
If you are using Wing Spikes, they should range from about 14″ to 17″ long and should be straightened and trimmed as well. This is especially important when making bustles with hackles tied on the tips, as trimming them back to a stronger area of the quill will make your bustles last much longer. These extensions are easily camouflaged by adding fluffs and then wrapping them with wool cloth or felt for warbonnets, or with colored tape for bustles.
ADDING FLUFFS:
Whether you are making a bonnet, bustle or fan, 1 to 4 fluffs can be added on the front and back of each feather. Base plumes should be cut to a length of 3-1/2″ or 4″ by trimming off the bottom end. Do not cut the tips! Next, strip 1/4″ off the base of the quill as shown. If you are adding tip plumes, cut these to 2-1/2″ long but do not strip any away from the bottom. See Photo G for the various steps..


BASE PREPARATION:
Using stiff leather, cut enough 1/4″ x 4-1/4″ strips for each feather. (The leather should be fairly thin but as stiff as possible. Indians often used thin rawhide.) Glue and tie one strip to each quill to form a small loop, approximately 1/8″ – just large enough for a leather lace to pass through – as shown in Figure 4. Next, glue the base plumes on the front and back of the quill at the ends of the leather strip, as shown inFigure 5. Glue each fluff at the base and at the middle, being careful not to use too much glue. Allow the glue to dry before proceeding.


BASE WRAPPING:
Cut red wool cloth or felt into 2-1/2″ x 1-1/2″ patches. Wrap one piece around the base of each feather so that it meets in the back and does not cover the leather loop at the bottom. Now wrap 2 bands of white or yellow thread, string or yarn around the red cloth, about 1/2″ from each end. These bands should be about 1/4″ wide so the string will have to be wrapped around the feather several times. See Photo H for the look of finished warbonnet feathers.

Crazy Crow Articles

Current Crow Calls Sale
July – August
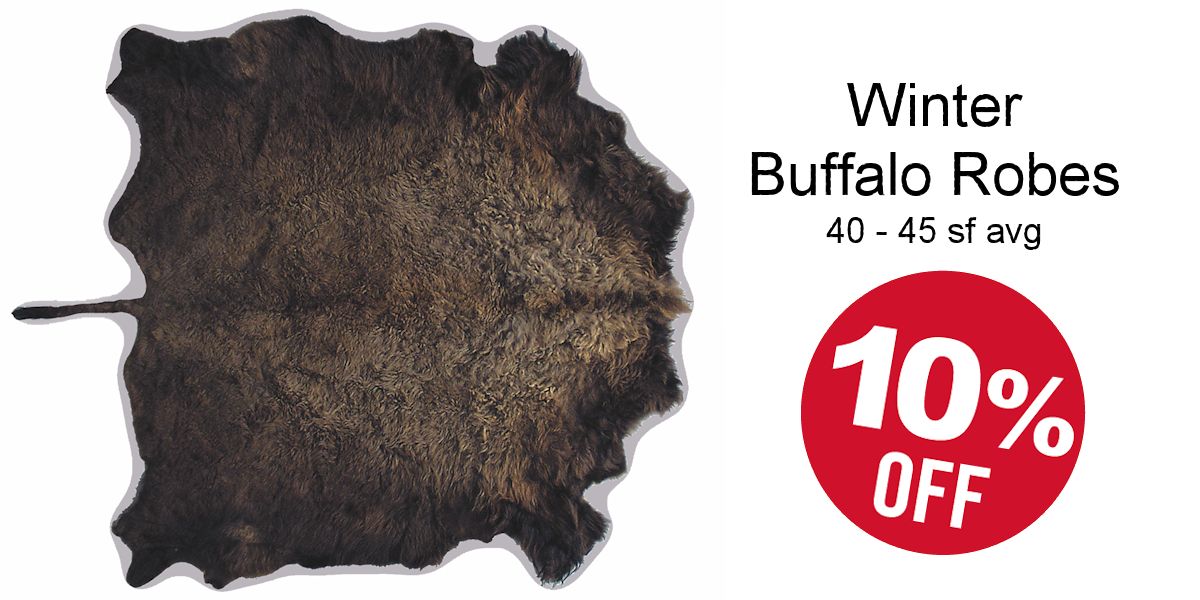
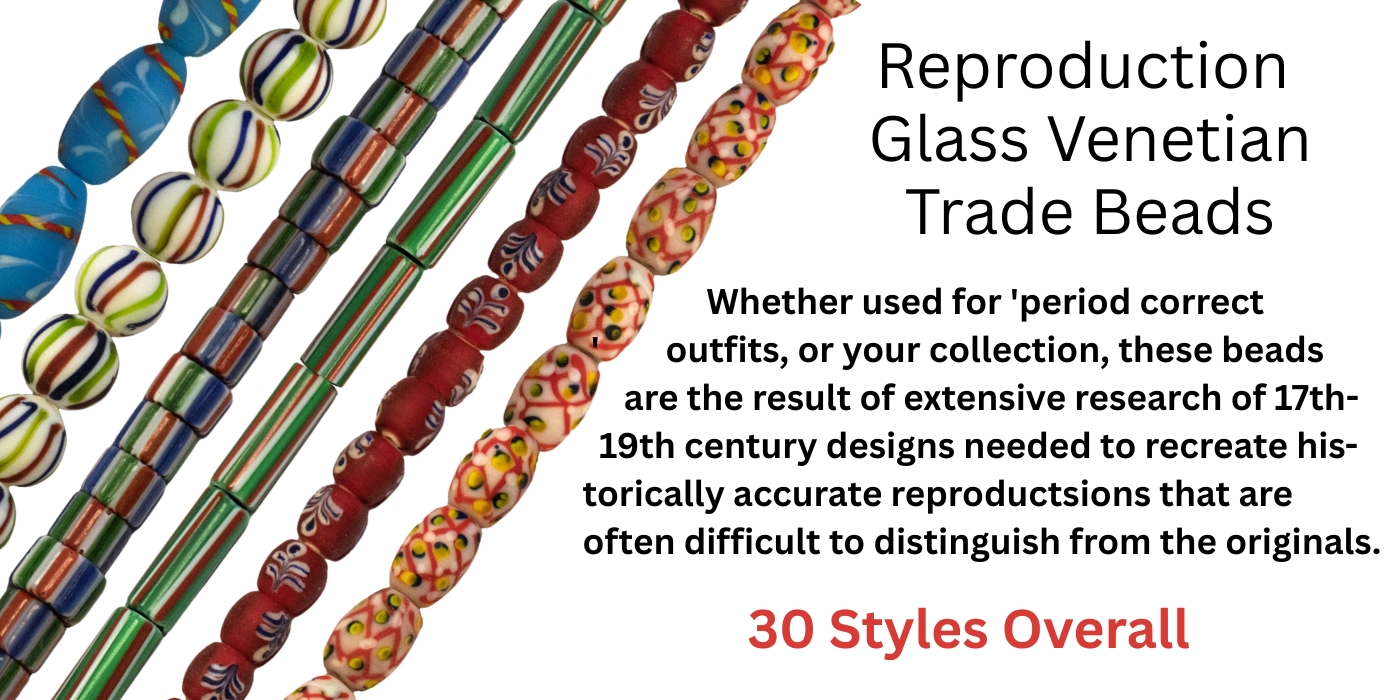
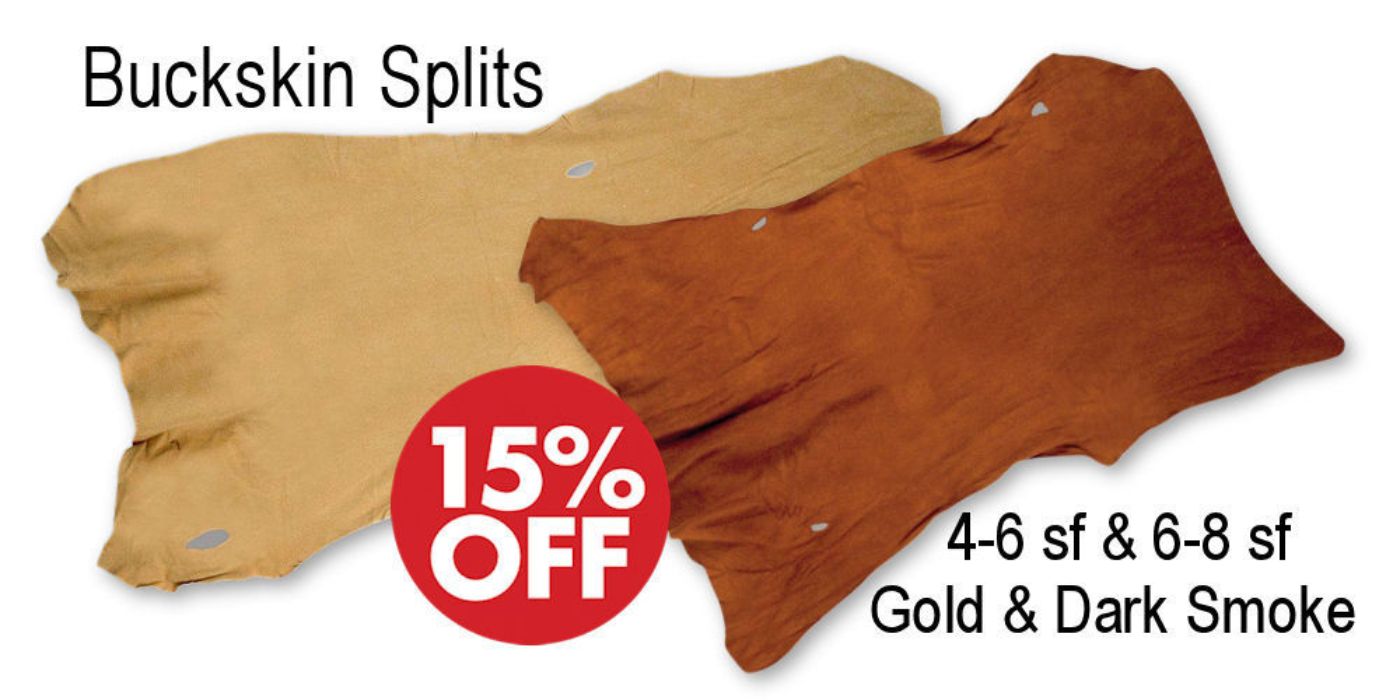
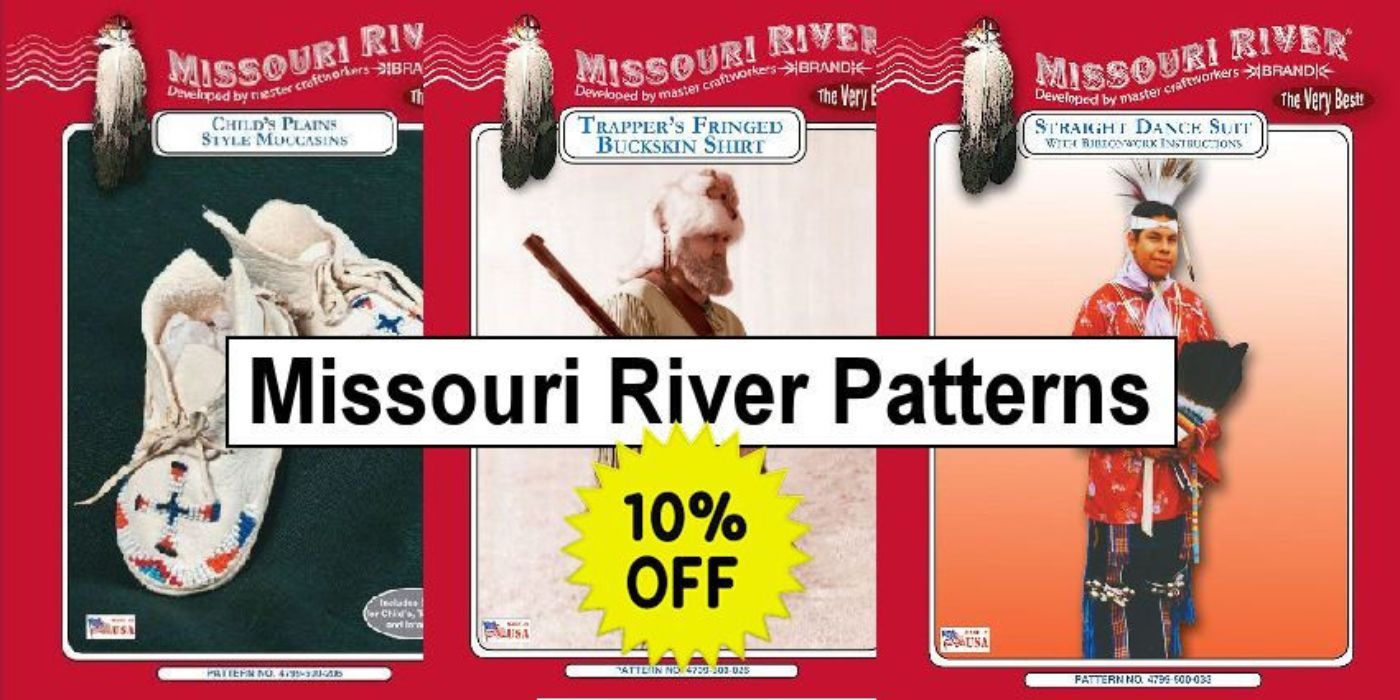
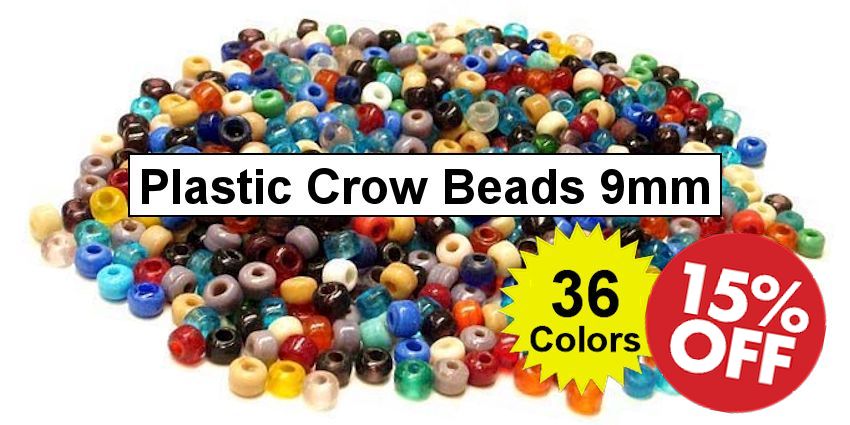
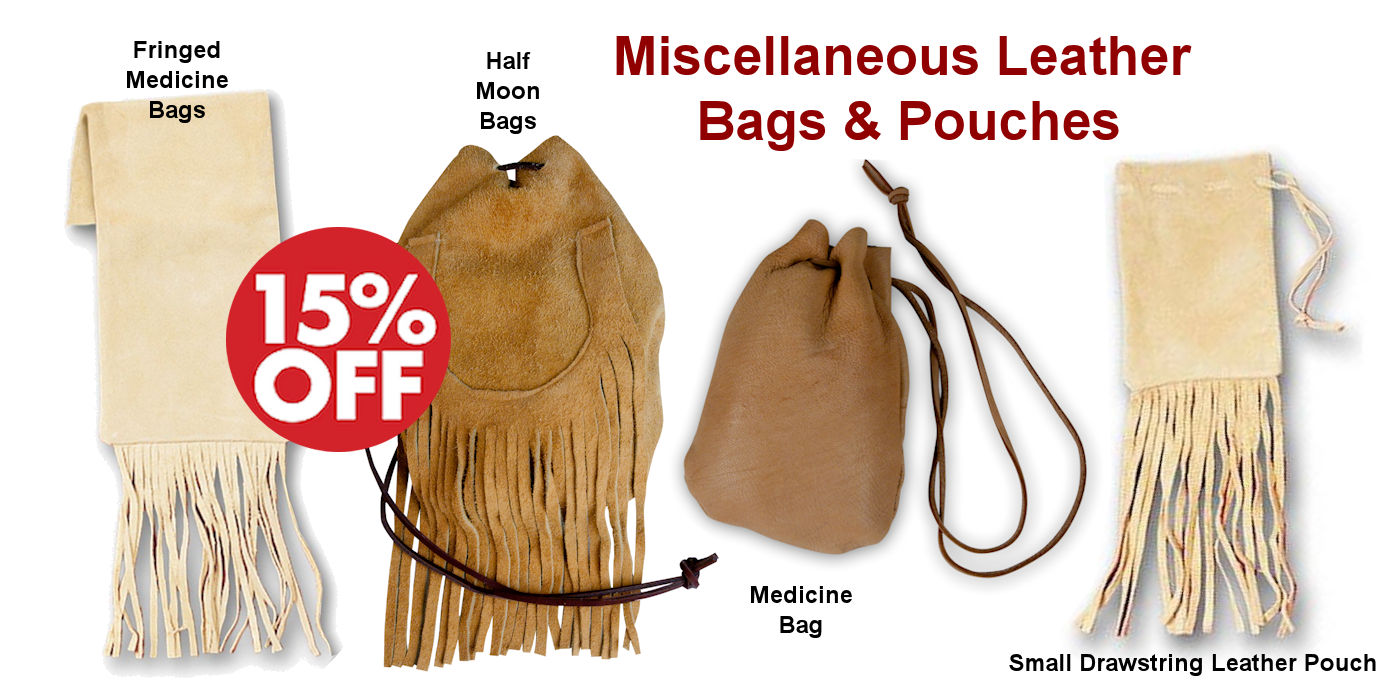
SAVE 10%-20% on popular powwow, rendezvous, historic reenactor, bead & leather crafter supplies. It’s official, Summer and the 4th of July are here, and so is the heart of Powwow, Rendezvous & Historic Reenactment seasons. This sale offers many popular items for Native American, Rendezvous & Historic Reenactment outfits, including: Missouri River Brand Serape Blankets, Buffalo Hides, a big DVD sale, Missouri River Patterns, 18th Century Linen Hunting Shirts, very popular Trade Bead Strands, Buckskin Splits, Bone & Horn Hairpipe, Plastic Crow Beads, Leather Pouches & Bags, and much more!