
Powder Paint Preparation & Application Tips
Craft Focus Article
© 2005 Crazy Crow Trading Post Revised 3/8/06
Powder Paint Preparation & Application Tips
Craft Focus Article
© 2005 Crazy Crow Trading Post Revised 3/8/06

There are several steps in using powder paints/earth pigments to paint rawhide:
- Paint & Sizing Preparation
- Making Brushes
- Painting the hide
- Application of Fixative (Sizing)
Paint & Sizing Preparation
Powdered paint pigments were made from a variety of crushed native rocks and mineral deposits and were used from the earliest times for painting rawhide and buckskin. They also were stocked regularly in many early trading posts. Buckskin was often painted by merely rubbing in dry powder, but, for rawhide, powdered pigment was usually combined with hide glue for sizing. This solution can also be used to paint tanned hides, but a somewhat thinner solution should be used. (See solution mixing below.
Listed below are the paint supplies that are required:
- Powdered paint or earth pigment
- Fixative/Sizing
Options:
- The painting instructions below refer to the use of either powdered or liquid hide glue.
- A good substitute for powdered hide glue is Knox gelatin, found at most supermarkets. Knox gelatin is purified hide glue.
- Another traditional sizing is prickly pear cactus juice
- Bone or wooden “paintbrushes” or very stiff artist’s brushes
- Several small containers for mixing paint and sizing
Before mixing paint with fixative, the earth pigment should be ground to a very fine powder, then sifted through a fine sieve to remove any noticeable particles. When making the paint solution, do not make very much at one time. A little paint goes a long way, and it is best to experiment at first until learning what works best. Different colors can be mixed together in order to obtain the exact shade desired. For example, a little black mixed with red will make the characteristic dark brown used for outlines, while a little yellow mixed with blue makes green. Sometimes, a drop of black can be added to the green for a slightly different shade, etc.
NOTE: A common misconception is that the painting on parfleches should have a watery, washed-out look. This comes from observing museum specimens whose colors have faded over time. While the paint should not be “electric”, it should be reasonably saturated and bright.
Sizing Consistency –
For painting tanned buckskin, the sizing solution should not be sticky but also should not feel quite like plain water, being only very slightly sticky when felt with the fingers. This will help keep the design properly dull, as a shiny, modern-paint look is to be avoided.
A bit heavier glue solution is preferred when painting rawhide pieces, thus giving the paint more of the characteristic shine. Experiment with different consistencies on scrap rawhide until you find your preference. A good place to start is with a solution that gives a little bit of sticky tension to your skin as you try to separate your fingers.
Make up some liquid sizing by adding a small amount of liquid or powdered hide glue to warm water. Experiment until you’ve added enough hide glue to make the mixture just a little syrupy, then thin this mixture with a little more warm water until watery, not syrupy. Then, in a separate container, mix 1 part powdered pigment paint with 2 parts of this liquid hide glue and one part 100% clear aloe vera gel (available in stores under “skin care products”).
Test this mixture on a dampened piece of your parfleche. If it sits on top of the rawhide and doesn’t soak in, then thin the mixture with aloe and more of the watery glue solution. If it soaks in and bleeds, then thicken the mixture with more powder paint. The ideal paint mixture will soak into the rawhide with no bleeding. The same holds true for painting tanned hides. The solution should not sit on top of the leather, but should also not bleed after it soaks in.

Brushes –
Earth pigment paint was traditionally applied by a piece of bone fashioned into a “brush”(figure 2). An alternative to bone was a wood stylus. Both are easy to make, but the bone holds more paint. The bone “brush” is actually a stylus made from a very porous section of bone. The end joints of long bones or pieces of rib are ideal. Use a saw to cut off sections from thoroughly cleaned bones. Cook greasy bones for a short time in very hot water to remove the fat. (Do not boil.) Use a belt sander or large file to make a beveled end on the most porous part of the bone. This end may be ½” to 1″ wide and should be 1/16″ to 1/8″ thick. (These dimensions are not critical.) Make at least one brush with a very thin edge to be used for design outlining.
A wood brush is also simple to make. Cut a wooden dowel, such as a 6″ long piece of dried, cured tree branch, about 3/8″ – ½” in diameter. Willow is easy to find and works well. Remove the bark from the stick. Cut a long bevel (approximately 30 degrees) on the larger end of the stick. This is your finished brush. Since this “brush” is not especially porous, it will hold much less paint than the bone brush, and thereby requires frequent dipping.
Painting the Hide –
You can paint the hide while it is still on the frame, but it must be lightly hydrated. If a hide is not stretched, then parfleches will warp if painted while wet, then allowed to dry. The trick is to stretch the wet hide, let it partially dry, paint it, then allow it to completely dry. Details are as follows:
For the large, flat folded parfleches, first, remove the dried hide from the stretching frame and cut out the hide in the general outline of the parfleche but with extra hide around all edges. Partially rehydrate the hide by dipping it in a tub. When fairly wet – but not soaked – stake out or re-stretch the hide in a frame. When it is almost dry (just barely damp), paint it (as below), then allow it to dry. Once completely dry, unstake the hide and cut out the exact shape of the parfleche.
For smaller parfleche articles, cut out a piece of rawhide larger in all dimensions than the expected finished product. Nail it to a piece of 3/4″ plywood to hold it in place while painting but stretch it only very slightly. This will also keep it from warping when it dries.
Paint is to be applied to the flesh side. If the area to be painted has dried out, it should be slightly dampened with a sponge or cloth. If it is very wet, the paint will bleed.

Painting should be done with a very stiff brush, wooden stick or bone brush in order to get the proper effect, and the paint should be rubbed into the hide during its application. Some old pieces actually have an incised appearance from this procedure. Note that, in old parfleches, the different paint colors do not touch. In a triangle design, for example, the outline of the triangle is first painted. Then the fill color is added to the inside of the triangle, but the fill color only comes close to – but does not touch -the triangle outline (figure 3). This prevents color bleeding.

Osage Painted Rawhide Shield, ca1870-1890
Fixative Application –
The use of “sizing” (also called fixative) is the same as applying a thin, clear varnish over a finished modern painting on canvas. Sizing should be applied while the parfleche is still tacked out or stretched.
When the entire parfleche has been painted, the next step also requires a damp surface. For a small parfleche, the surface may still be damp. But if the entire piece or any part of it has dried, it should be lightly rehydrated. Take a damp (not wet) rag or old towel and lay it over the hide. Do NOT rub the rag into the hide but, rather, lay it down gently over the painted area. Allow the hide to absorb some of the moisture for just a few minutes. The idea is to make the hide damp but not so wet that the paint will smear.
When damp, the surface should be gently coated with a light layer of thinned hide glue, aloe vera gel, or prickly pear juice. The sizing solution should be a little thicker than the paint and hide mixture described above, but it should still be thin enough so that if flows on very easily. Practice on a piece of scrap rawhide until you get a satisfactory solution mixture. (Note: The hide glue, when dried, may produce a yellowish cast on the finished hide.) Use long, gentle strokes, and do not go back over your work (to avoid smearing the paint).
Allow to dry. If you deem it necessary, a second coat of fixative can be applied over the first. The hide does not have to be re-dampened for this second coat. But, again, use long strokes and do not go back over the work.
Instead of using hide glue fixative, painted parfleche may be coated with a dull finish spray varnish or artist’s fixative. This works quite well in humid parts of the country where traditional sizings can remain tacky for some time after application. Although the use of commercial products is not traditional, it does give satisfactory results.
NOTE: Some parfleche makers actually coat the entire parfleche surface with fixative BEFORE they apply the painted designs, then apply another coat of fixative over the design. You may wish to experiment with this variation in technique to see if you prefer the final “look” of the design work.
Completing the Parfleche-
After the rawhide thoroughly dries, remove the tacks holding it to the board and cut out the finished shape. Rawhide can be cut with tin snips, heavy leather shears, or even a hand-held electric jigsaw.
Holes will be required for lacing up sides or tying a flap cover in place. Ideally, holes should be burned. Small, commercial soldering irons with pointed tips work well for this and are available in hobby shops or hardware stores. Or you may prefer to use a large, heated nail held with a pair of pliers or vise grips. Burning the hole seals the hole edges and helps prevent lacing from tearing the hole. Small holes created with an unheated awl can be used for sinew-sewing the sides of an envelope.
Make all the holes, then attach the laces. Your parfleche is now finished and ready for use.
Additional Resources –
Just as there are many tanning techniques among Native Americans, there is an almost endless number of “tricks of the trade” for making and painting parfleches. The information above will help get you started, but we also recommend that you experiment on your own, talk to others who do parfleche work, and seek out written resources such as the following:
The American Indian Parfleche: A Tradition of Abstract Painting by Gaylord Torrence, Univeristy of Washington Press in association with the Des Moines Art Center. 1994. ISBN 0-205-07333-1.
Indian Rawhide: An American Folk Art by Mable Morrow, reprinted by Crazy Crow Trading Post.
Crazy Crow Articles

Current Crow Calls Sale
July – August
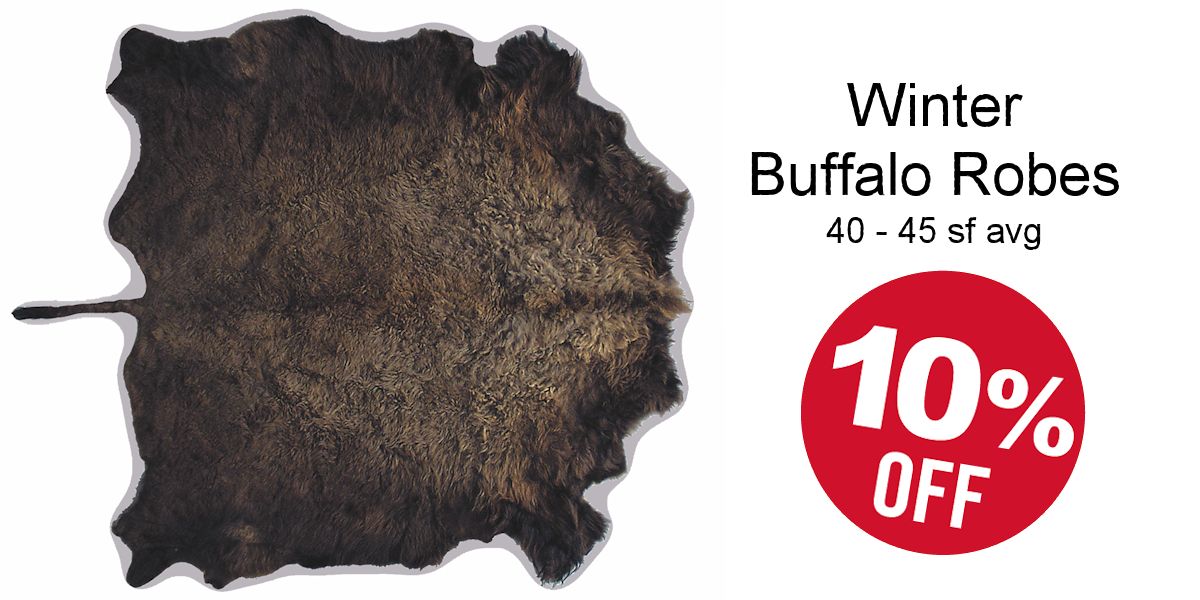
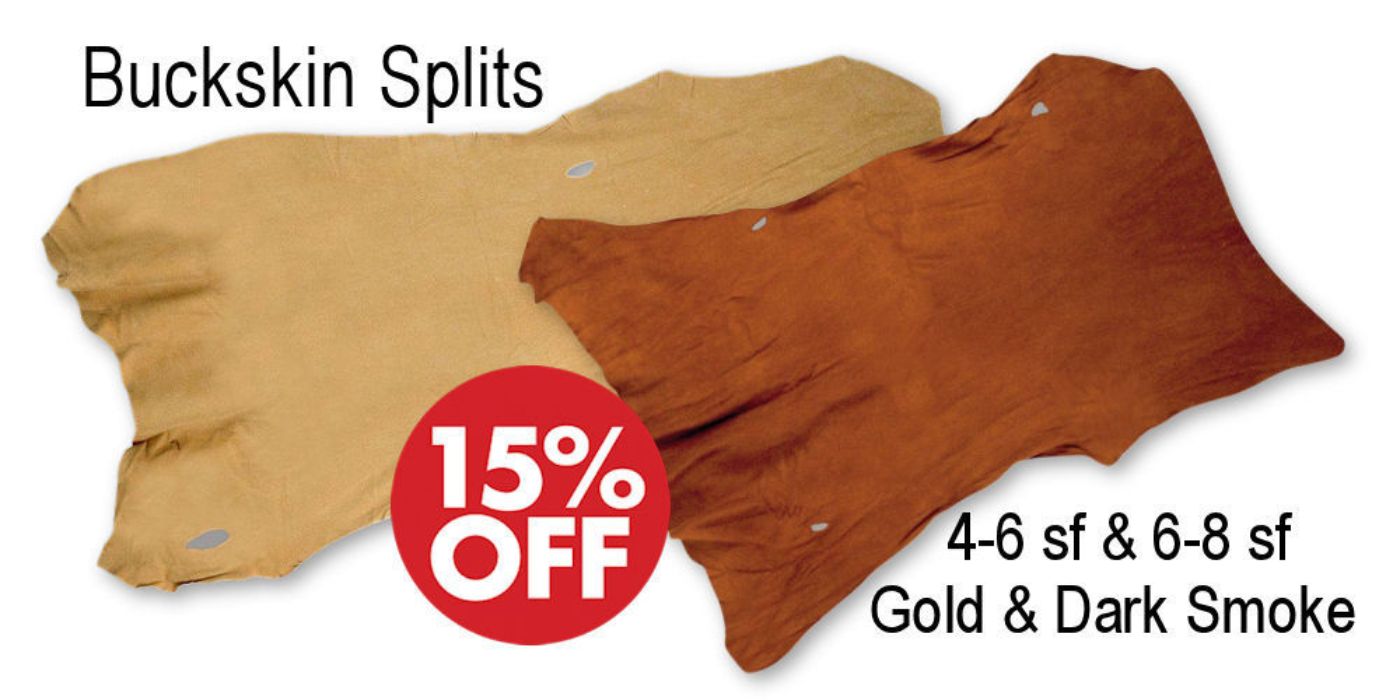
SAVE 10%-20% on popular powwow, rendezvous, historic reenactor, bead & leather crafter supplies. It’s official, Summer and the 4th of July are here, and so is the heart of Powwow, Rendezvous & Historic Reenactment seasons. This sale offers many popular items for Native American, Rendezvous & Historic Reenactment outfits, including: Missouri River Brand Serape Blankets, Buffalo Hides, a big DVD sale, Missouri River Patterns, 18th Century Linen Hunting Shirts, very popular Trade Bead Strands, Buckskin Splits, Bone & Horn Hairpipe, Plastic Crow Beads, Leather Pouches & Bags, and much more!


Powder Paint Preperation & Application Tip (click images to view product detail)
The following items are used in the above-article, or may provide added reference and helpful information.
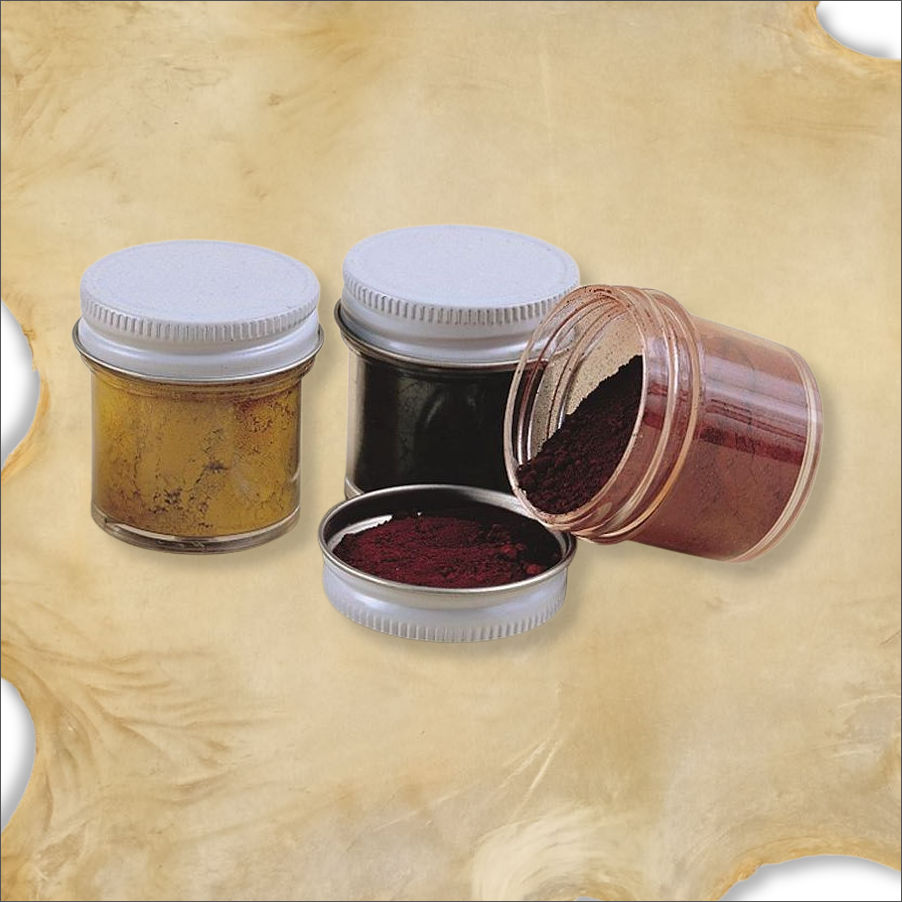
Powder Paint
Our Powder Paint is a natural earth paint that can be used to color everything from parfleches to articles of buckskin clothing. Simply rub dry powder into buckskin or mix with water and paint on other items. It also doubles as a safe, non-toxic face paint when mixed with mineral oil.
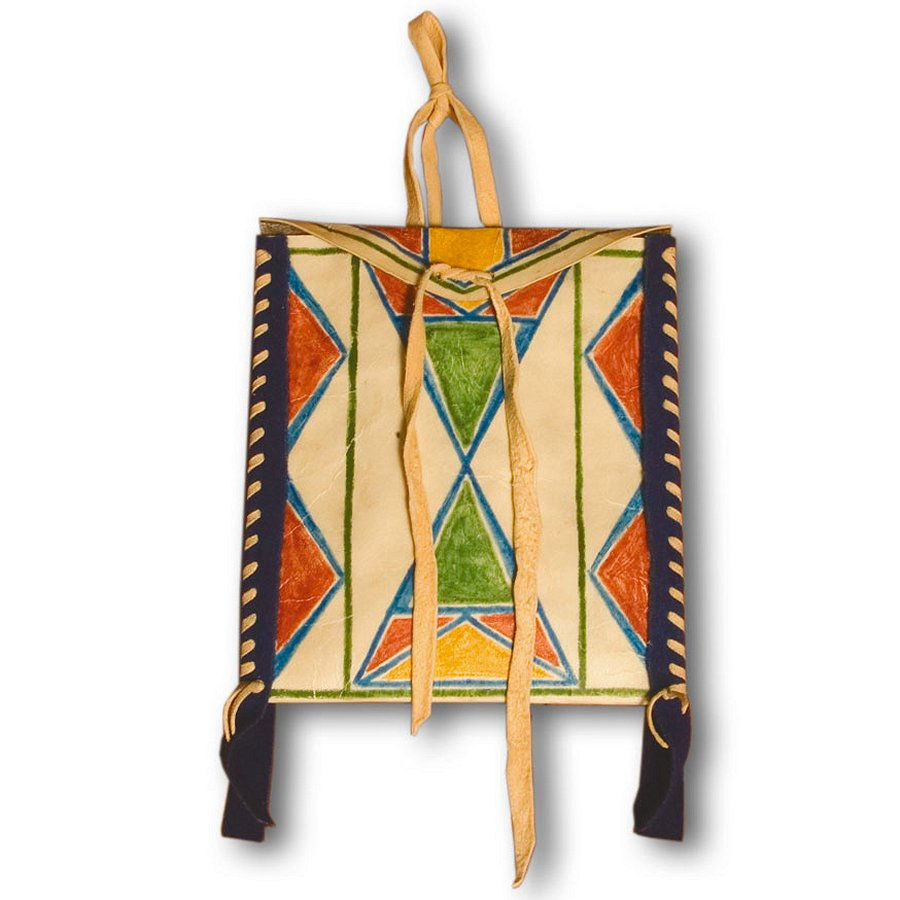
Parfleche Envelope Kit
Kit contains: partly prepared parfleche rawhide, 4 colors of powder paint, powdered hide glue, wooden “paint brushes”, nail “hole burner”, red wool felt, buckskin thong, a large needle, 3 full-scale authentic designs, plus completely illustrated instructions and photos of additional museum examples.