Making Horn Utensils
© 2012 Crazy Crow Trading Post
Making Horn Utensils
© 2012 Crazy Crow Trading Post
Like peoples across the world, Native Americans had needs for basic utensils, and, as was their custom, they turned to nature for materials. In those days, the eating of soups or mush was facilitated by two utensils: a serving ladle and an individual eating spoon. There was also the need for drinking vessels. Indians used horns from buffalo, mountain sheep, and, eventually, cows to make these utensils, in addition to carving some out of wood. The photos at the top show a basic ladle and a ladle with a carved crane’s head. The following Craft-E Crow article has basic information to help you make any of these handy camp articles. At the end of the article, you will find resources and links for additional information related to making your own horn utensils.
I. Roughing Out – Use of Raw Horn
Although you may be have one of Crazy Crow’s pre-formed buffalo horn products, we’ll start from the beginning with the use of a raw horn. It doesn’t matter if it’s a cow or buffalo horn, as the basic techniques are the same. Examine the horn from several angles and decide how much of the rough mouth area that you want to remove and still have enough horn left for your cup or ladle. Cut off that section. Horns from older animals have a lot of ridge rings inside the mouth. If these ridges are present, you can smooth them down using a 4-in-1 rasp (also known as a hand-mill) and sand paper or a small sanding drum on a Dremel® tool or electric drill.
OPTION A. LADLES & SPOONS
To make a ladle, you’ll need to remove a large section of the inside curve.
- Hold the horn so as to view it from the side, then use a marker to draw the outline of the ladle or spoon. Be sure and leave yourself a little extra to be removed in the final shaping.
- The next step can be awkward. If you have a band saw, it’s an easy job to saw off the excess horn. A slower but nevertheless very effective method is to remove the excess with a belt sander and coarse grit paper. The latter method creates quite an odor and lots of dust.
- If you only have a hand-held sander, mount it upside down in a bench vise so you can have both hands free to manipulate the horn.
- Finally, if you have neither a band saw nor sander, you can use a hacksaw. You’ll need somebody to steady the horn, as it’s virtually impossible to clamp it in a vise.
- Saw the excess off in sections, first making a 2″-3″ cut along the long axis of the horn,
- then make a perpendicular cut to remove the section. Remove as much of the horn as you can with this method.
OPTION B. Drinking Horn
Simply use a band saw, sander, or hacksaw to square up the mouth. If you wish to leave a piece of the horn as a tab to which will be attached a suspension thong, draw the tab on the inside of the curve, then cut the mouth out around it.
II. EXTERIOR WORK
A. Heating
The next step is to clean up the rough exterior of the horn. The best tool for most of the work is the 4-in-1 rasp.
- First, heat the horn in boiling water for no more than 10 minutes. This will soften up the horn so that it is easy to quickly remove a good deal of material.
- NOTE: Heat is the worst enemy of a horn, whether you’re making a ladle, cup, or powder horn, so it is best to minimize any heating: better too little than too much. Otherwise, the layers of the horn will bubble up and start to separate like an old radial tire.
- Try 10 minutes for a buffalo horn; if you have a thinner cow horn, boil for only 5 minutes. Once it is hot, handle the horn with a thick pair of leather gloves.
B. Thinning The Horn
Thinning is done by holding the horn with your hands, that is, don’t try to clamp it in a vise. Proceed to remove a lot of material from the entire outside layer of the horn. You may use the belt sander for much of it. Whatever you do, proceed slowly, frequently feeling the thickness of the ladle or cup between your fingers so that you do not get it too thin or uneven in thickness. Also remove material to refine the overall shape of the ladle at this time.
A slower but more cautious way to proceed is to use the coarse, rounded part of the rasp, in combination with a sander. As you work the horn, you’ll find some uneven spots, as it really does not have the nice curved surface that it appeared to have at first glance. After removing the bumps, smooth the surface down with the rasp’s fine teeth.
NOTE: The edge of a ladle can be somewhat thick, up to 1/8″ of an inch. However, a spoon is more comfortable to the mouth when it is about 1/16″ of an inch thick at the edge. Use trial and error with your spoon to determine how thin it should be, as well as how much to angle back the front edges.
III. FORMING THE HANDLE
You may wish to put a bit of a backward curve in the handle section of the ladle or spoon or carve an animal or bird head, into it. This requires that the mid-handle section be thin, often very thin. Carefully work this area to make it thin, both from side to side and top to bottom. Test it frequently until it can bend somewhat easily by hand. At this time, clean up the file marks and smooth the edges of the handle section. Heating and forming will come later.
IV. POLISHING
Next, it’s time for polishing. For this, you’ll use a sharp knife, piece of glass, flint, etc. Place the blade perpendicular to the length of the horn and carefully scrape the entire length. If you hold the mouth edge against your stomach, the blade often chatters and leaves marks as you bring it to the mouth. Eliminate this problem by placing the horn’s mouth edge on a workbench, hold it by the tip, and scrape away from yourself. Taking your time with scraping instead of making fast strokes actually helps do a faster, cleaner job. Make all the scrapes in one direction.
Once the surface is smooth, you can leave it this way or do more polishing. For more, you can use 320-grit sandpaper or steel wool. The steel wool gives the surface a fairly shiny polish.
V. BENDING THE LADLE/SPOON HANDLE
- Buffalo horns are often much harder to heat and shape than cow horns, so we suggest heating the handle section of the horn in mineral oil, rather than water. (For safety, use a double boiler for mineral oil.)
- Whether you use water or mineral oil, do not heat for more than 10 minutes.
- Your liquid should be very hot but not boiling.
- Immediately after heating, use heavily gloved hands to gently bend the neck of the horn around the curved side of a small metal can. (You can use anything that’s round and not affected by heat, such as a glass jar.)
- Hold the spoon in the curved position until it no longer wants to bend back to its natural shape,
- then put it aside to cool completely for a couple of hours.
VI. OILING
- After cooling, lightly work the horn again with steel wool, just to make sure of having a clean surface.
- The last step is to oil the horn. You can use rendered animal grease, but, in order to avoid the possibility of the grease going rancid, we recommend mineral oil or olive oil.
- Rub the horn hard with a greased cloth to get it all warm so that the grease/oil will better absorb.
- To expedite, hit the horn with a hair dryer at high setting, both inside and out, until the horn is quite warm, and then grease. This is the last step in your project.
SAFETY NOTE
Throughout this project, use heavy leather gloves whenever possible. This helps you avoid cutting yourself, as well as making the horn more comfortable to hold when it is hot.
NOTE TO TRADITIONALISTS
If you don’t want to use modern tools, such as a belt sander, you can make your horn the old way. Get yourself a horn, some flint, and put in for a week of vacation time at your day-job. (What am I saying? REAL Traditionalists wouldn’t have a day job!)
The following items are useful in creating your own horn utensil projects.
Crazy Crow Articles

Current Crow Calls Sale
July – August
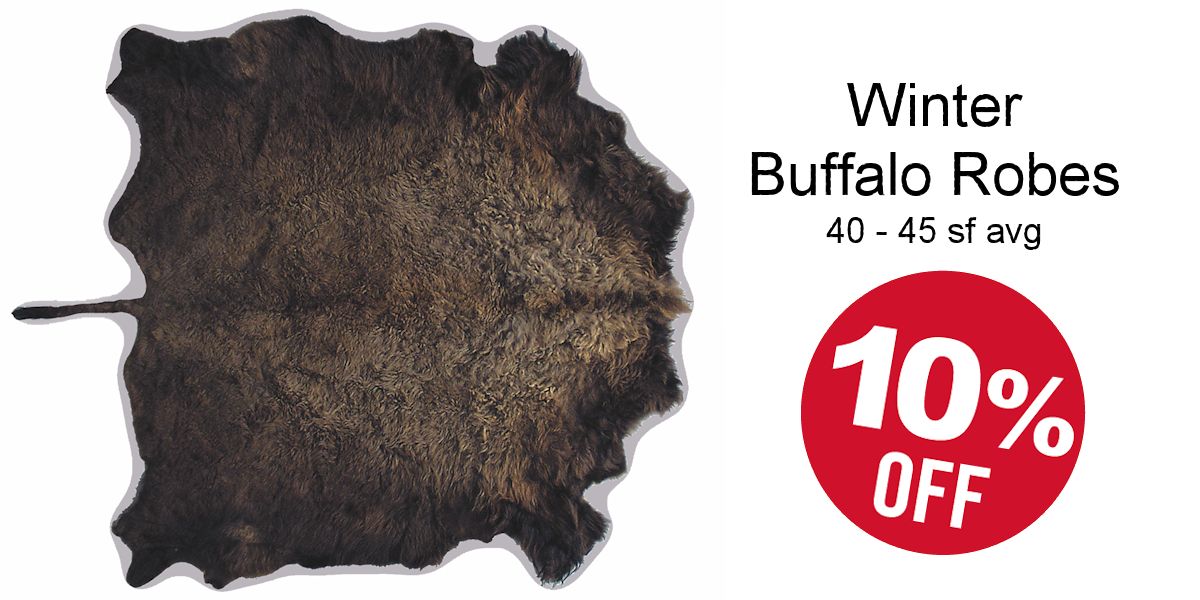
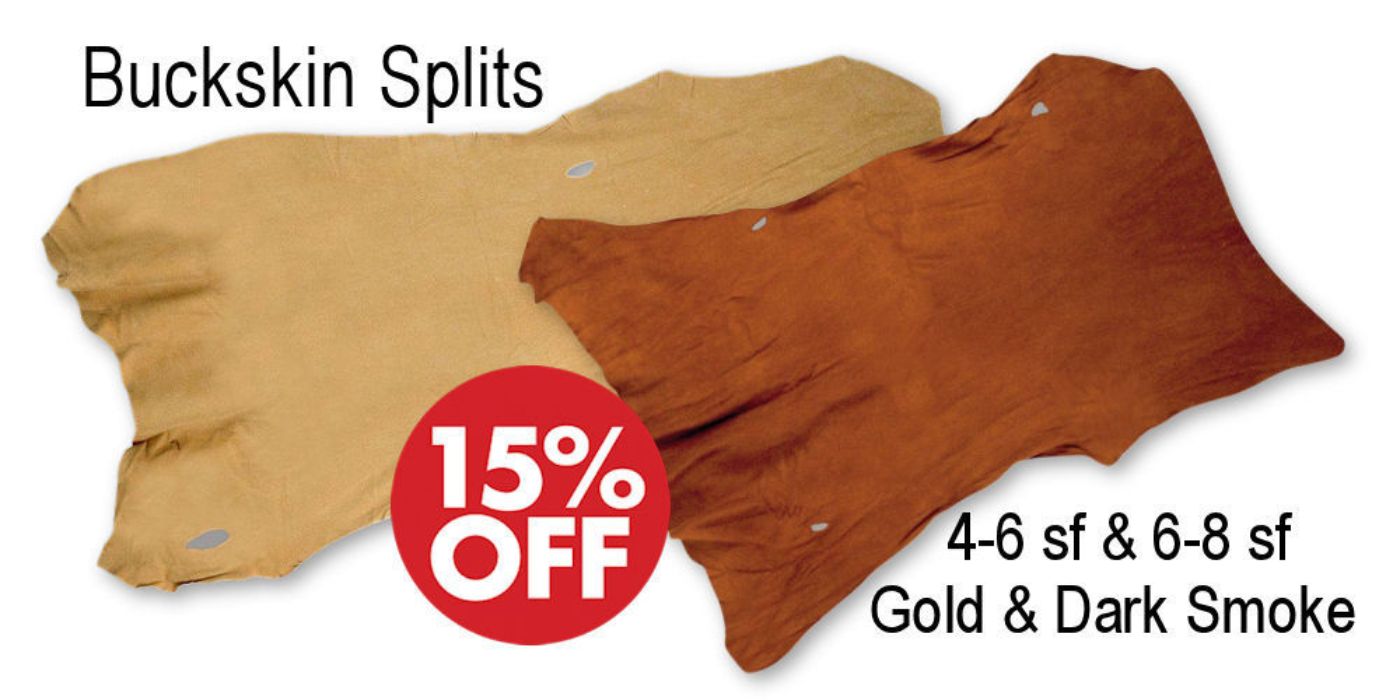
SAVE 10%-20% on popular powwow, rendezvous, historic reenactor, bead & leather crafter supplies. It’s official, Summer and the 4th of July are here, and so is the heart of Powwow, Rendezvous & Historic Reenactment seasons. This sale offers many popular items for Native American, Rendezvous & Historic Reenactment outfits, including: Missouri River Brand Serape Blankets, Buffalo Hides, a big DVD sale, Missouri River Patterns, 18th Century Linen Hunting Shirts, very popular Trade Bead Strands, Buckskin Splits, Bone & Horn Hairpipe, Plastic Crow Beads, Leather Pouches & Bags, and much more!