American Indian Flat Dance Fan Construction
Page 2 | By Rex Reddick
Reprinted from Whispering Wind: Vol. 33 No. 4
American Indian Flat Dance Fan Construction
Page 2 | By Rex Reddick
Reprinted from Whispering Wind: Vol. 33 No. 4

4. Positioning the Feathers
Carefully lay out the feathers, as shown in Figures 3 & 4A-B. Begin with the two outside feathers first; with two more on top of these until you wind up with the center feather in place. Make any adjustments that are necessary to achieve the desired shape and then hold all the feathers in position by pressing gently down on them. Trace around the outside of the base of the quills. Use this as a guide to draw the shape of your handle, leaving it approximately 1/8″ wider than the feathers on either side. A typical shape is shown inFigure 5, but this will vary with individual differences in the way the feather quills lay. Overall length can be 5″ to 6″ long, depending on personal taste and the size of your hand.
5. Making the Handle
Any soft wood can be used fo a handle, but white pine or cedar is recommended, as it is readily available and easy to carve. Cut the handle to its rough shape with a coping saw and finish with a carving knife & wood rasp. Many different shapes can be made, but I hae found that th gentle taper as shown in Figure 5 is easiest to bead and is also an attractive shape. Sand carefully to achieve a smooth, even surface, as any irregularities will be visible even under the beadwork.

6. Shaping the Handle
Cut the base of the handle so that it will accept the fringe, removing only an amount of wood equal to the thickness of one fringe. Next, remove the front portion of the top of the handle and carve it out so it will fit the natural curve of the feathers. Remove only enough wood to equal the thickness of the quills, as shown in Figure 6. A small, tapered wood rasp is very helpful for this process. The back side of the handle should taper in at the top so that it meets the quills of the main feathers at its top edge.
7. Setting the Feathers
Set the two outside feathers in place, then using a pair of needle nose pliers and 2 or 3 straight pins per feather, pin them into position as shown in Figure 7. These pins allow great flexibility in setting each feather exactly as you want it and each one can be easily adjusted at any time prior to gluing.

Finish pinning the other feathers in place, carefully adjusting each one so that they are evenly spaced and all edges blend into the next feather. This is accomplished by moving the feathers from left to right and rotating it on the axis of the shaft. Pay particular attention to the tips of the feathers, making certain they are flat as shown in Figure 3. To check this, look at the tips of the feathers and make sure there are no gaps between them.
8. Finishing the Handle
Completely cover the bottom 1-1/2″ of the quills with epoxy glue, allowing it to dry for 12 to 24 hours. The pins can then be removed by twisting slightly with pliers and then carefully pulling them out. Finish forming the handle by building it up with plastic or auto body filler, such as “Bondo”, as shown inFigure 8. Put on enough to make the handle symmetrical and only bring it up as high in front as it is in back. Let this dry, then shape it and smooth it using your rasp and sandpaper.


9. Placing Decorative Feathers
Trim feathers should now be added at the top of the handle in front and back. You may use hackles and/or small coverlets from pheasants, macaws, parrots, etc. A simple technique for placing these is to use a piece of masking tape or double stick tape to lay these on and then covering with another piece of tape (Figure 9). This “unit” can then be glued to the fan. One or more fluffs are usually placed on the back of the fan, in the same configuration as they grow on the bird. Other decorative feathers can also be added here and are very attractive. See Figures 10 thru 12 and the accompanying photos.
10. Buckskin Fringe
Approximately 12 to 20 hand-rolled, white buckskin fringes can be added to the fan handle which must be made before attaching to the handle. Begin by cutting a piece of buckskin into 12 to 16 strips 1/4″ wide by 7″ to 10″ long. The width of these strips as well as the thickness of the buckskin will determine the thickness of your fringe and you may wish to cut strips that are narrower or somewhat wider. It is important


Crazy Crow Articles

Current Crow Calls Sale
March – April
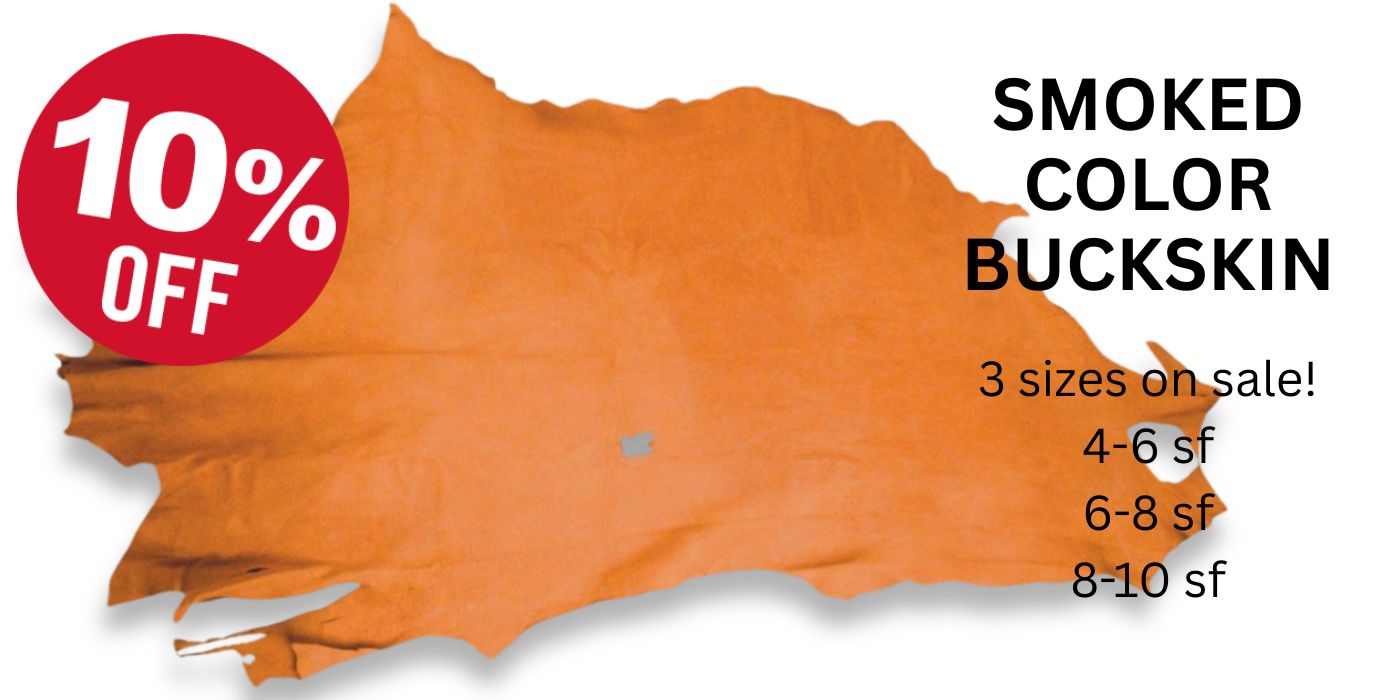
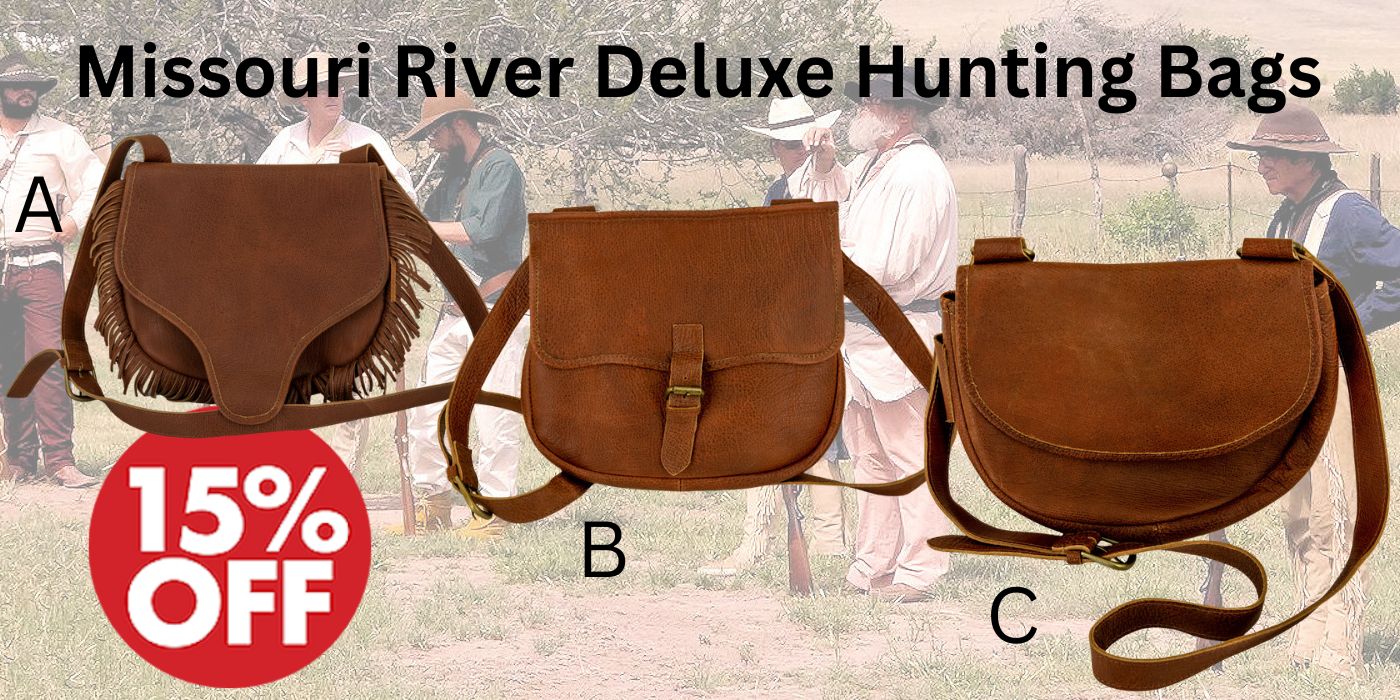
SAVE 10%-25% on on popular powwow, rendezvous, historic reenactor, bead & leather crafter supplies. Powwow, Rendezvous, and Reenactment season is almost here! Save on many of our most popular items such as Smoked Color Buckskin, Jingles & Lids, Large Smooth Dentalium, Colonial Clothing: Waistcoats, Breeches & more; Deluxe Hunting Bags, Readymade Drumsticks, Powwow Drums, Trekker Boots and other Colonial Shoes for
men and women, Stainless Steel Blades with Guards, Polished Steer Horns, Oval Chevron Beads, Lance Heads, Dream Catchers, River Cane Flute, Beaded Moccasin Tops, Southwest Shoulder Bags, Traditional Serapes, Beaded Cinch Top Bag & Backpack, other beadwork & so much more!